[소개]
HAproxy는 L4, L7와 같은 하드웨어 로드밸런서를 대체하기 위한 Open Source이다.
※로드밸런싱 : 하나의 서비스에 대한 부하를 여러 대의 서버로 분산시켜주는 서비스
[실습 내용]
서버 이중화 구성 후 로드밸런싱 구성
하나로 쓰고 있는 웹 서비스를 로드밸런서 생성 후 서비스 로드밸런싱 작업
[실습 환경]
ubuntu 20.04
Real IP1 : 192.168.25.88
Real IP2 : 192.168.25.89
VIP : 192.168.25.90
[실습]
1. 각 서버의 필요한 패키지 설치
#apt install -y corosync pcs pacemaker haproxy

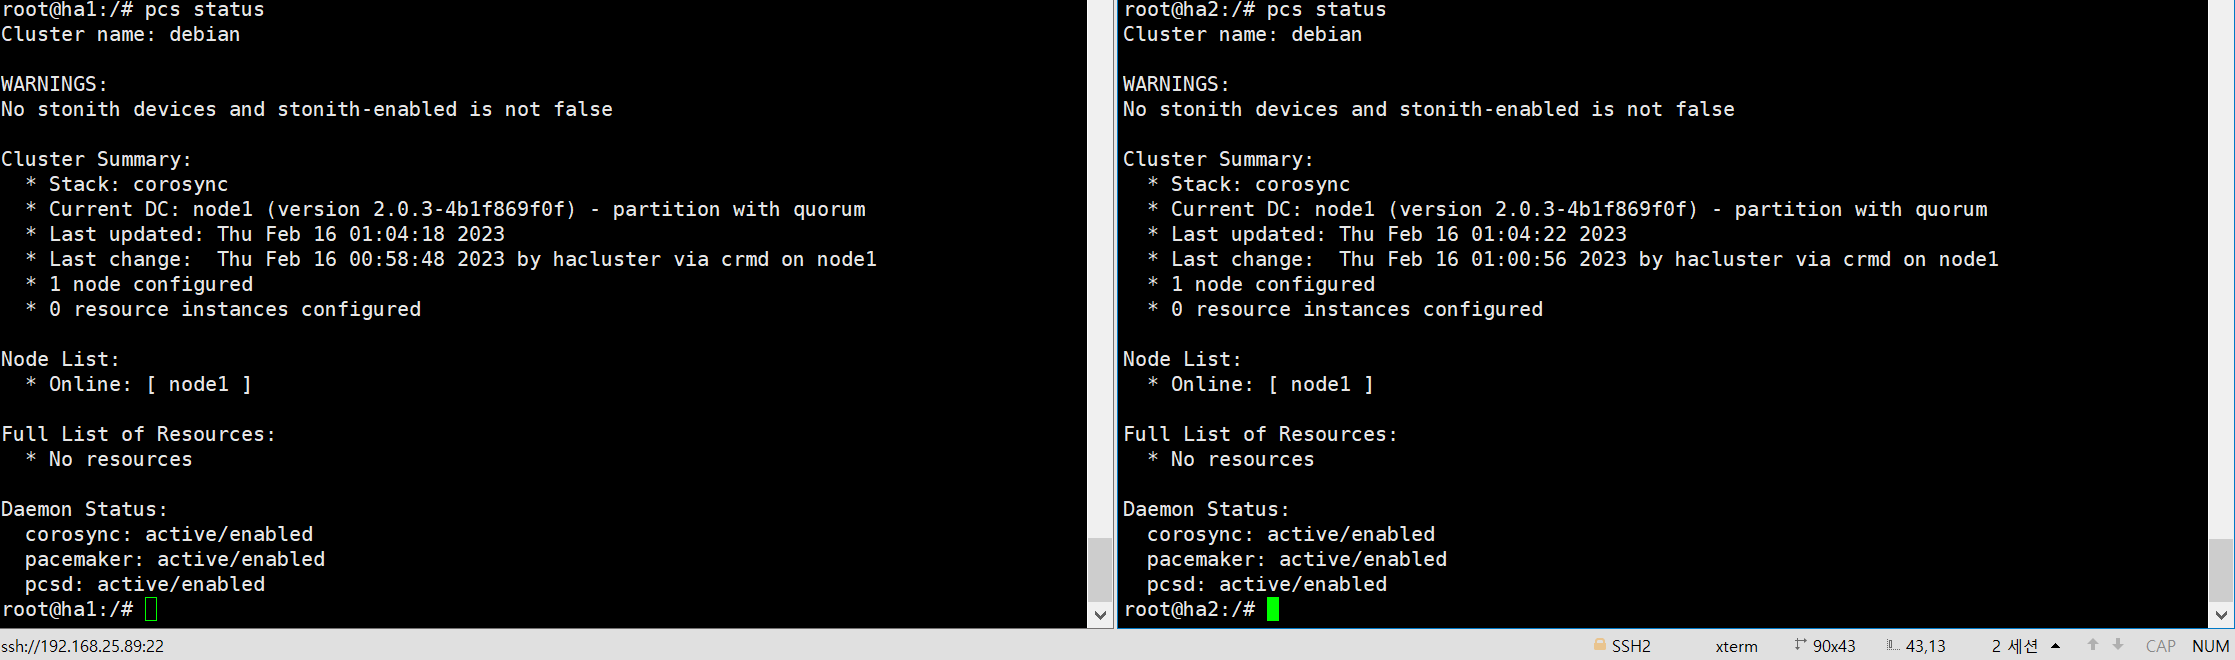
2. 설치 후 HA 서비스 상태 확인
#pcs status
3. hacluster 패스워드 지정
#passwd hacluster

4. pcs 데몬 시작
#systemctl start pcsd

5. hosts 파일의 IP 등록
#vi /etc/hosts

6. pcs 각 노드의 인증 등록 (master)
#pcs host auth ha1 ha2

7. pcs 각 노드의 setup 진행 (master)
#pcs cluster setup cluster ha1 ha2
- pcs cluster : 명령어
- 뒤에 나오는 cluster : cluster 이름
- ha1 , ha2 : 각 노드 이름

8. corosync 설정 파일 확인 (master)
#cat /etc/corosync/corosync.conf

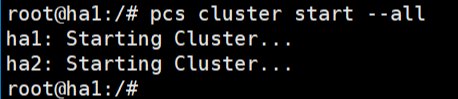
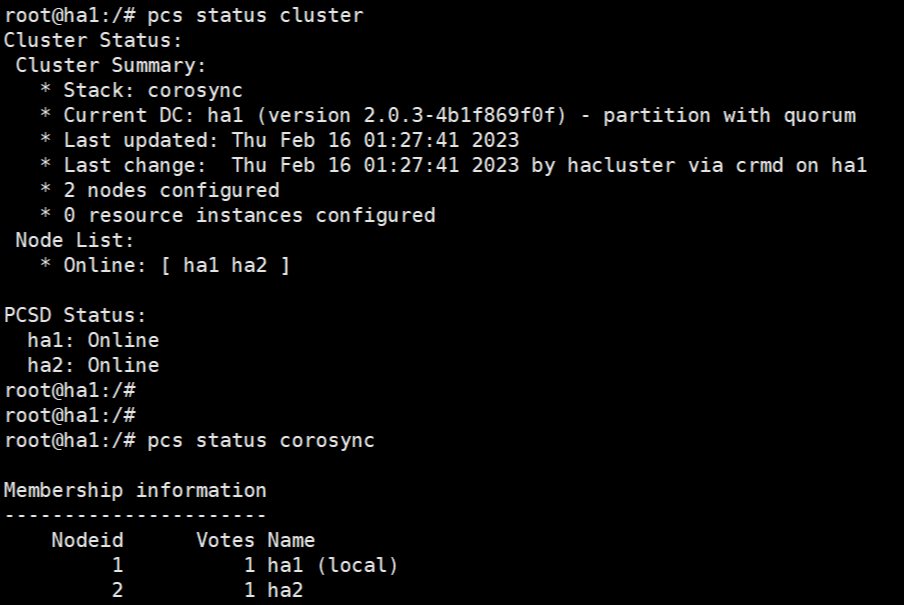
9. pcs cluster start 및 status 상태 (master)
#pcs status start --all
#pcs status cluster
10. 양 노드 싱크 확인
#crm_verify -L -V

- 싱크 확인
- STONITH 설정 (노드가 3개 이상이 아니므로 설정 false 진행)
11. property 환경 설정 후 싱크 확인
#pcs property set stonith-enabled=false
#pcs property set no-quorum-policy=ignore
#pcs property


12. cluster VIP resource 등록 및 resource 상태 확인
#pcs resource create virtual_ip ocf:heartbeat:IPaddr2 ip=192.168.25.90 cidr_netmask=24 opmonitor interval=30s


13. VIP 확인

14. haproxy resource 등록
#pcs resource create haproxy lsb:haproxy conffile=/etc/haproxy/haproxy.cfg op monitor interval=10s --force


15. constraint 설정
#pcs constraint order virtual_ip then haproxy

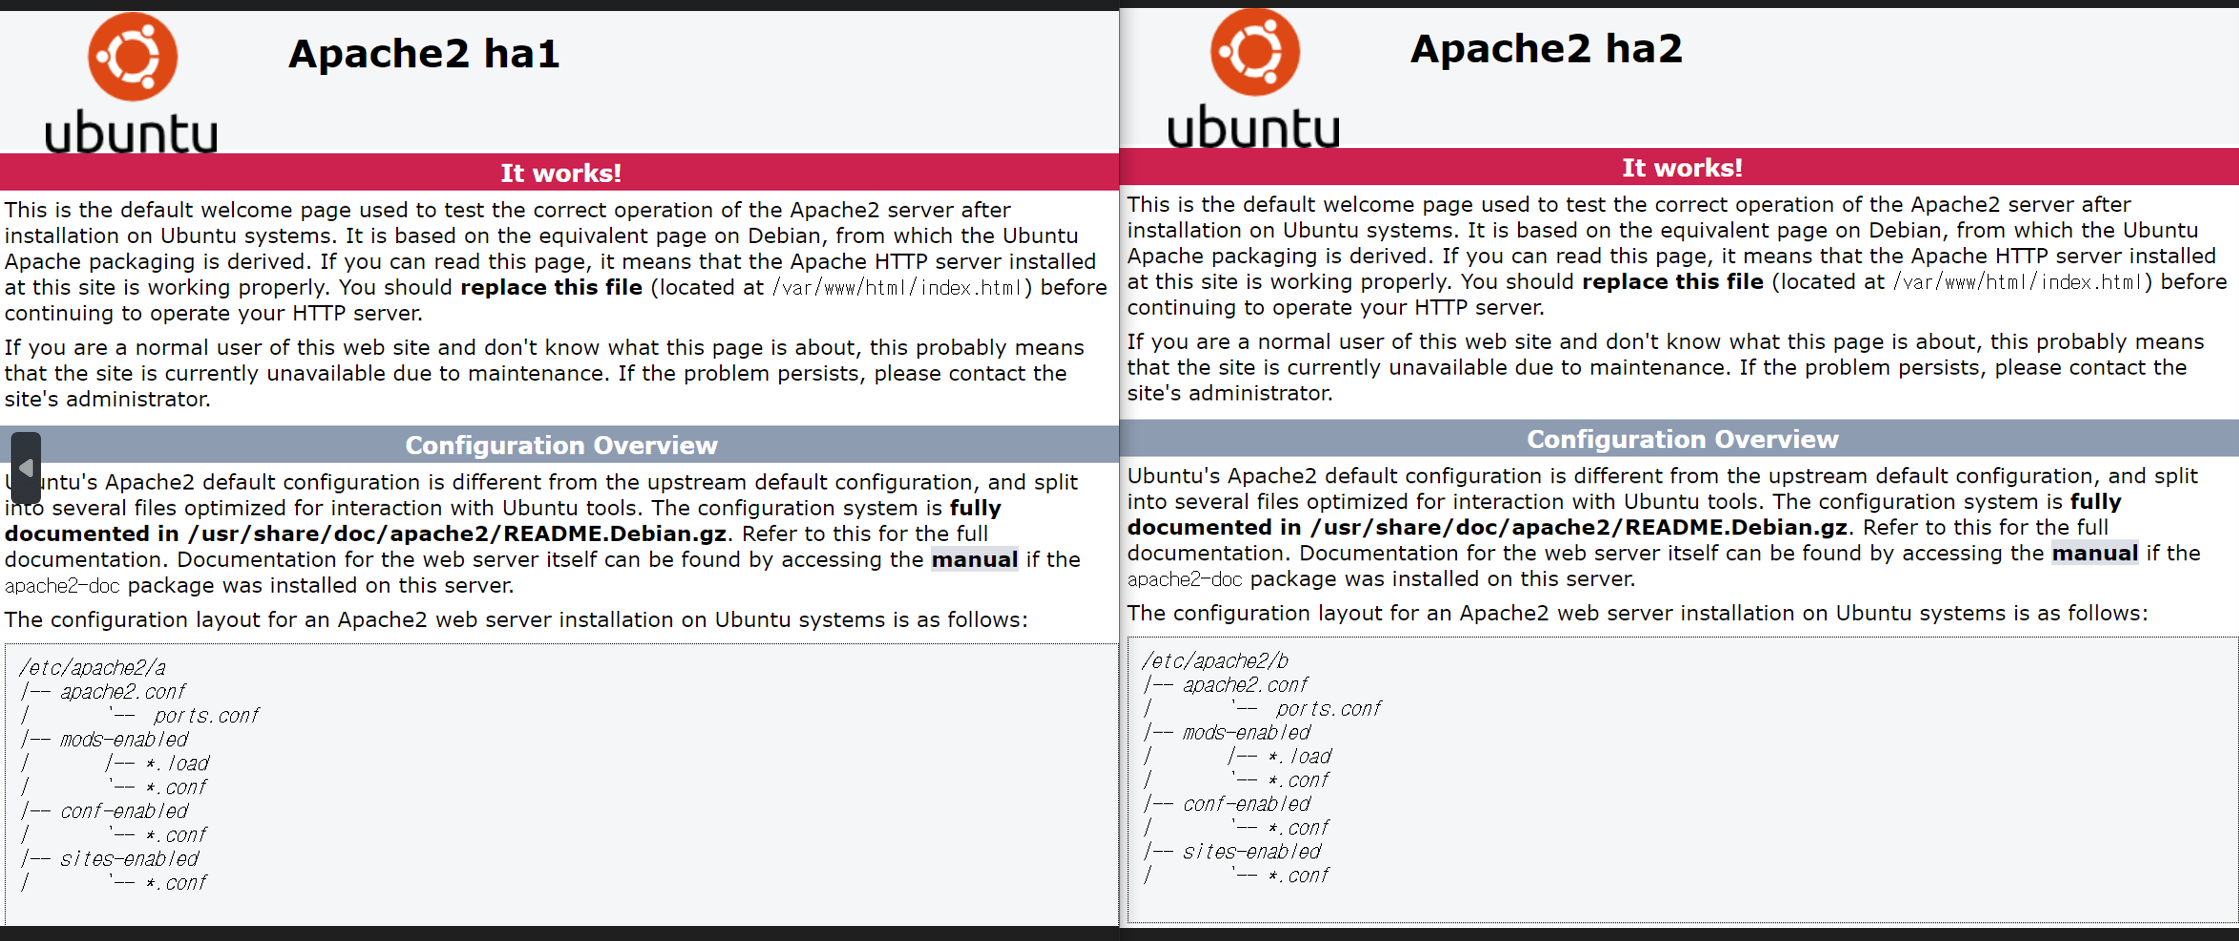
16. apache 페이지 인식 (node1 , 2)
#vi /var/www/html/index.html

※인식 할 수 있을 정도로 수정
17. haproxy 설정 편집
#vi /etc/haproxy/haproxy.cfg

frontend http_front
bind *:81
default_backend http_back
backend http_bask
mode http
balance roundrobin
server ha1 192.168.25.88:80 check
server ha2 192.168.25.89:80 check
18. http 접속 후 로드밸런싱 확인
※본 실습의 앞서 미숙한 점 양해 부탁 드립니다.
'Linux > Ubuntu' 카테고리의 다른 글
| [Linux_Ubuntu] apache2 및 nginx 포트 변경 (0) | 2023.04.14 |
|---|---|
| [Linux_Ubuntu] samba 구성 (1) | 2023.04.06 |
| [Linux_Ubuntu] ntp 구성 및 동기화 (1) | 2023.04.03 |